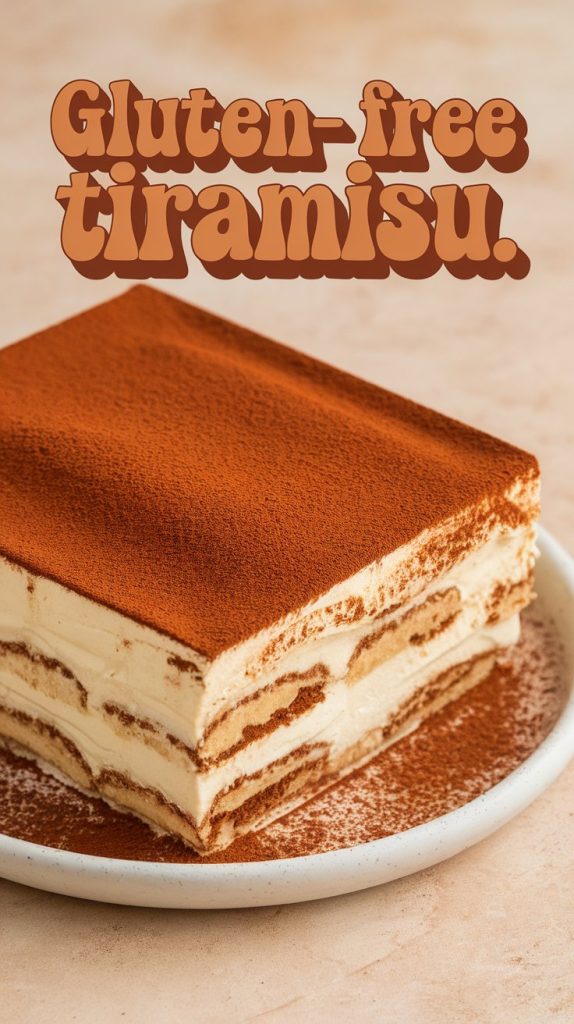
Gluten-Free Tiramisu
You want tiramisu. You can’t eat gluten. Life feels unfair for about five seconds.
Then you remember something important: gluten-free tiramisu exists, and it tastes incredible. I’ve made it for dinner parties, birthdays, and random Tuesday cravings, and nobody guessed it skipped the gluten. Not one person. And trust me, my friends love to “detect” things.
So if you’ve ever stared at a classic tiramisu recipe and thought, “Why must ladyfingers betray me like this?”—you’re in the right place.
Let’s fix that.
Why Gluten-Free Tiramisu Deserves a Spot in Your Life
Traditional tiramisu relies on wheat-based ladyfingers. That’s it. That’s the villain.
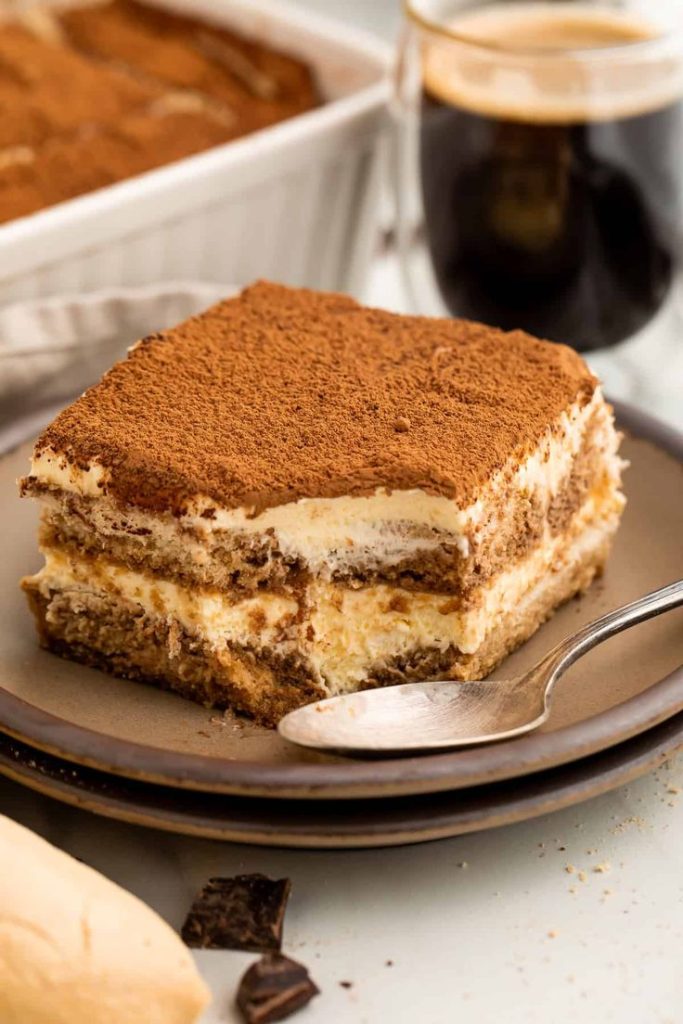
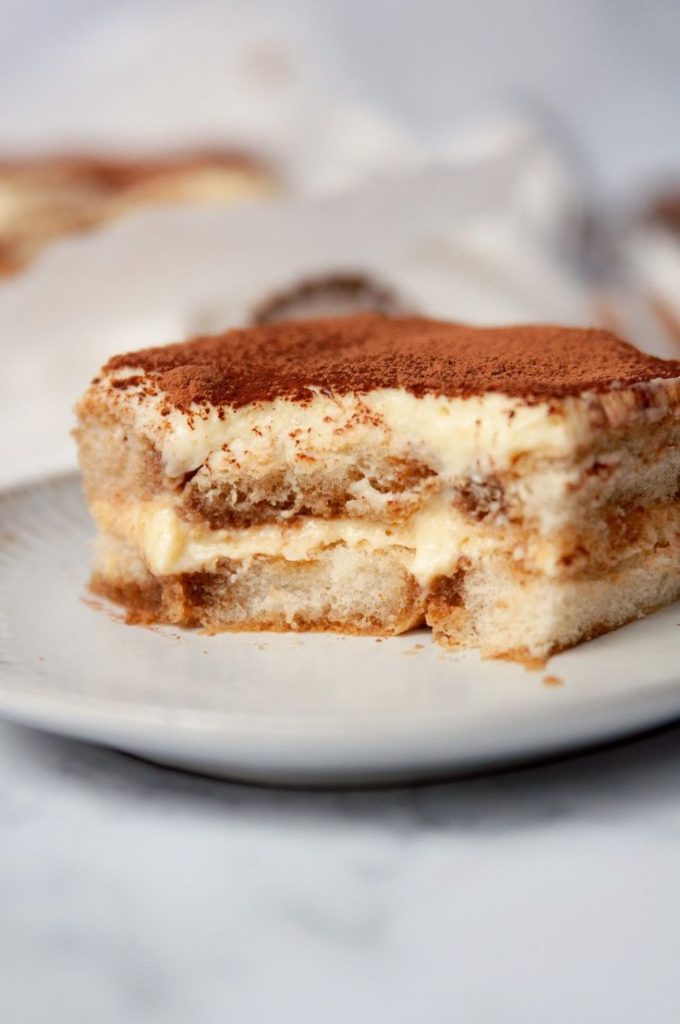
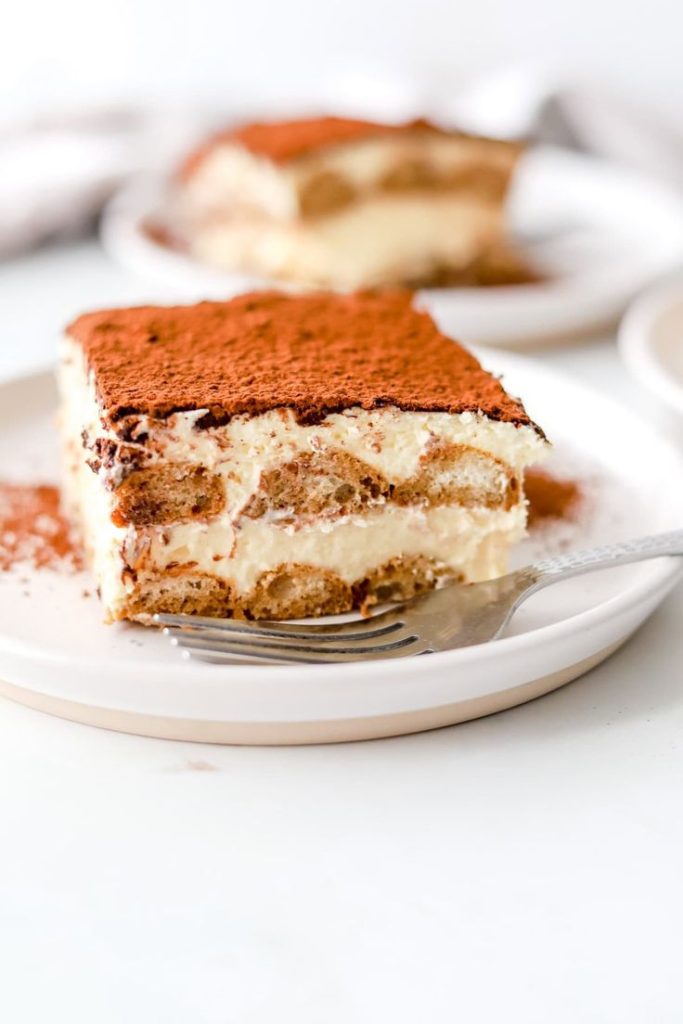
But here’s the good news: tiramisu itself isn’t about gluten. It’s about coffee-soaked sponge, creamy mascarpone filling, and a dusting of cocoa that makes you feel fancy. Once you swap the base, the magic stays intact.
And honestly? Sometimes gluten-free tiramisu tastes even better.
You Still Get That Classic Texture
Ever worried that gluten-free desserts feel dry or crumbly? I get it. I’ve suffered through enough sad gluten-free cake to write a memoir.
But when you:
- Use quality gluten-free ladyfingers or sponge cake
- Soak them properly in espresso
- Layer generously with mascarpone cream
You get that soft, luscious, melt-in-your-mouth texture. No cardboard vibes. None.
It Feels Indulgent (Without the Aftermath)
If gluten makes you feel bloated or sluggish, you already know the deal. You eat dessert, then regret everything.
With gluten-free tiramisu, you skip that uncomfortable aftermath. You still indulge. You still savor every bite. You just don’t suffer later. IMO, that’s a win-win.
What Makes a Great Gluten-Free Tiramisu?
Not all gluten-free tiramisu recipes deliver the same results. Some versions taste amazing. Others… try their best.
So what separates the good from the “meh”?
1. The Right Gluten-Free Base
You have three main options:
- Gluten-free ladyfingers (savoiardi) – Closest to traditional
- Gluten-free sponge cake – Soft and easy to slice
- Homemade almond-based sponge – Adds a subtle nutty flavor
I prefer gluten-free ladyfingers because they keep the structure classic. They absorb espresso beautifully without collapsing into mush.
Have you ever scooped tiramisu that turned into coffee soup? Yeah. Let’s avoid that.
2. Real Mascarpone (No Substitutes, Please)
You need full-fat mascarpone cheese. Don’t swap it for cream cheese unless you absolutely must.
Mascarpone gives tiramisu its silky, slightly sweet richness. Cream cheese adds tang and changes the vibe completely. You want dessert. Not cheesecake in disguise.
3. Strong Espresso
Weak coffee ruins tiramisu. I said what I said.
Use:
- Freshly brewed espresso
- Strong dark roast coffee
- A splash of coffee liqueur (optional but glorious)
The espresso balances the sweetness and gives gluten-free tiramisu its signature depth. Without it, the dessert tastes flat.
How to Make Gluten-Free Tiramisu (Step-by-Step)
Let’s keep this simple. You don’t need pastry chef credentials.
Ingredients You’ll Need
Here’s your essential lineup:
- Gluten-free ladyfingers
- 1 ½ bowls of strong espresso (cooled)
- 16 oz mascarpone
- 1 bowl heavy cream
- ½ bowl sugar
- 3–4 egg yolks (optional for traditional style)
- Cocoa powder for dusting
- Coffee liqueur (optional)
See? Nothing dramatic.
Step 1: Prep the Coffee
Brew your espresso and let it cool completely. Add a splash of coffee liqueur if you like.
Hot coffee melts everything and creates chaos. Cool coffee keeps control. We want control.
Step 2: Make the Cream Layer
Whip the heavy cream until soft peaks form. In another bowl, mix mascarpone and sugar until smooth.
Fold the whipped cream into the mascarpone gently. Don’t overmix. You want fluffy, not dense.
If you use egg yolks, whisk them with sugar first until pale and creamy before adding mascarpone.
Step 3: Soak and Layer
Quickly dip each gluten-free ladyfinger into the espresso. Don’t soak them for minutes. A fast dip works perfectly.
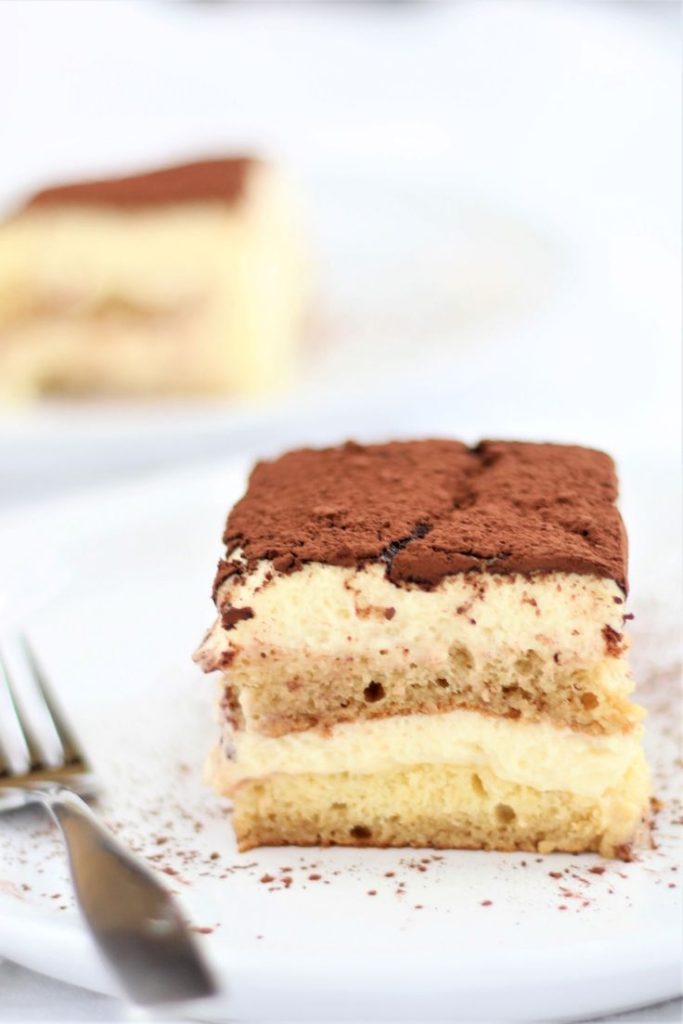
Layer them in your dish. Spread a thick layer of mascarpone cream on top. Repeat.
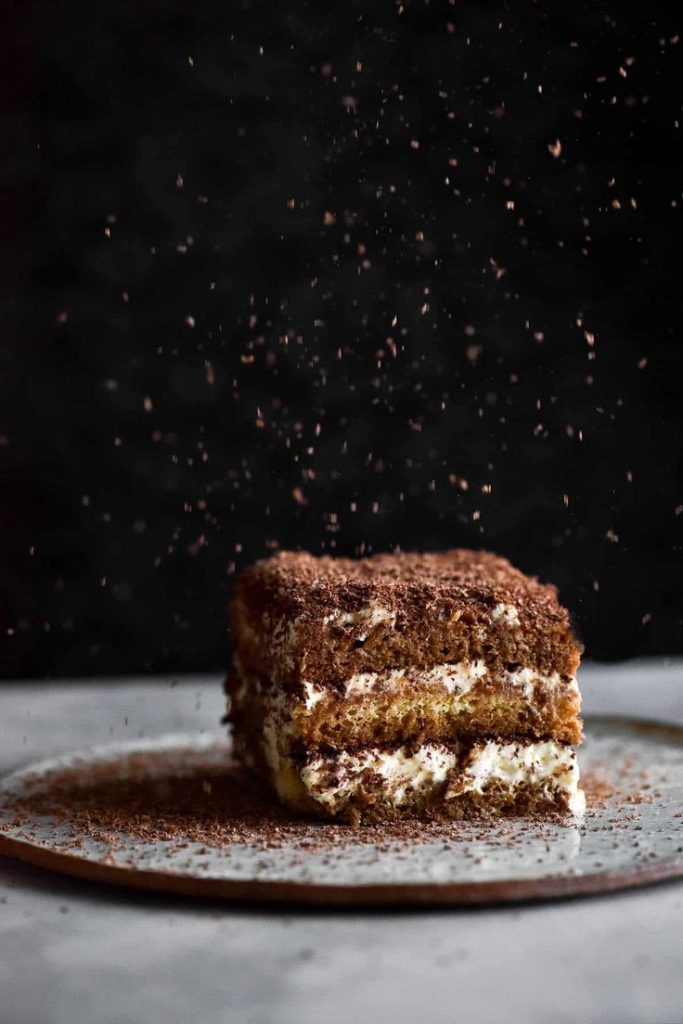
Finish with a generous dusting of cocoa powder. And yes, “generous” means more than you think.
Step 4: Chill
Refrigerate for at least 4 hours. Overnight works even better.
Patience rewards you with clean slices and balanced flavor. Rush it and you’ll serve dessert soup. Your choice.
Common Mistakes That Ruin Gluten-Free Tiramisu
Let’s prevent heartbreak.
Over-Soaking the Ladyfingers
Gluten-free baked goods absorb liquid faster. If you leave them in espresso too long, they collapse instantly.
Dip. Flip. Remove. Done.
Using Low-Fat Ingredients
Low-fat mascarpone and light cream create a thin filling. Tiramisu should feel luxurious.
This dessert doesn’t belong on a diet plate. Commit to it.
Skipping the Chill Time
You need that chill period. The layers settle. The flavors marry. The structure firms up.
Ever cut into warm tiramisu? Don’t.
Store-Bought vs. Homemade Gluten-Free Tiramisu
You might wonder: should you just buy it?
Let’s compare honestly.
Store-Bought Gluten-Free Tiramisu
Pros:
- Convenient
- No prep time
- Safe for last-minute guests
Cons:
- Often too sweet
- Smaller portions
- Expensive
Many grocery versions overload sugar to compensate for texture differences. The result tastes one-dimensional.
Homemade Gluten-Free Tiramisu
Pros:
- You control sweetness
- You control texture
- You impress everyone
Cons:
- Requires prep time
- Demands patience
Personally, I choose homemade every time. I adjust the espresso strength and cocoa level based on my mood. That flexibility makes all the difference.
Would you rather eat “fine” tiramisu or unforgettable tiramisu?
Exactly.
How to Elevate Your Gluten-Free Tiramisu
Want to level it up?
Add a Flavor Twist
Try:
- Dark chocolate shavings between layers
- A hint of orange zest
- A splash of amaretto
These small upgrades keep the recipe interesting without overpowering the classic profile.
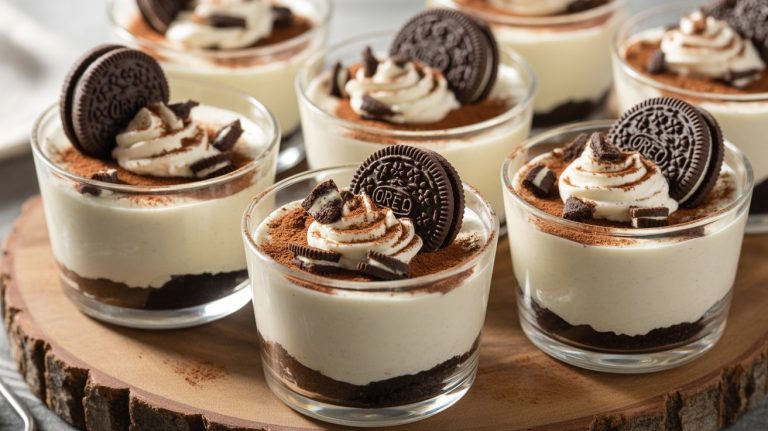
Make It Individual
Layer your gluten-free tiramisu in small glasses or jars. You control portions and presentation.
Plus, individual servings look chic. People assume you tried harder than you did. We love that.
Make It Dairy-Free Too
Yes, you can.
Swap mascarpone for:
- Dairy-free cream cheese alternative
- Whipped coconut cream
Does it taste exactly the same? No. Does it still taste delicious? Absolutely.
Is Gluten-Free Tiramisu Actually Healthier?
Let’s be honest.
Gluten-free does not mean low-calorie.
Tiramisu contains cream, sugar, and mascarpone. It qualifies as indulgent no matter what flour you use.
But if you have gluten intolerance or celiac disease, gluten-free tiramisu protects your gut and keeps you comfortable. That matters.
So healthier? Not exactly. Better for you? If you avoid gluten, yes.
How to Store Gluten-Free Tiramisu
Good news: this dessert stores beautifully.
- Refrigerate in an airtight container for up to 3 days
- Avoid freezing if possible
- Dust with fresh cocoa before serving leftovers
The flavor actually improves on day two. The espresso deepens. The cream settles.
Ever noticed how some desserts taste better the next day? Tiramisu definitely joins that club.
Why I Keep Coming Back to Gluten-Free Tiramisu
I’ve experimented with countless gluten-free desserts. Some shine. Some disappoint.
But gluten-free tiramisu never fails me.
It feels elegant without being complicated. It tastes rich without feeling heavy. And it satisfies that “I need something special” craving instantly.
Plus, I love watching people take a bite and say, “Wait… this is gluten-free?”
Yes. Yes, it is.
Conclusion
Gluten-free tiramisu proves something important: you don’t have to give up classic desserts just because you avoid gluten.
You just need:
- High-quality gluten-free ladyfingers
- Real mascarpone
- Strong espresso
- Proper chill time
Stick to those fundamentals and you’ll create a dessert that rivals any traditional version.
So next time a craving hits, don’t settle for less. Make the gluten-free tiramisu. Share it with friends. Or don’t share it at all—I won’t judge.
After all, life feels better with layers of espresso and mascarpone.